Tutorial - Bookings | Adding & Removing Participants
Within the booking, you can quickly add or remove participants. This mechanism keeps the booking process flexible, allowing easy rectification if you forgot to add someone during the building phase.
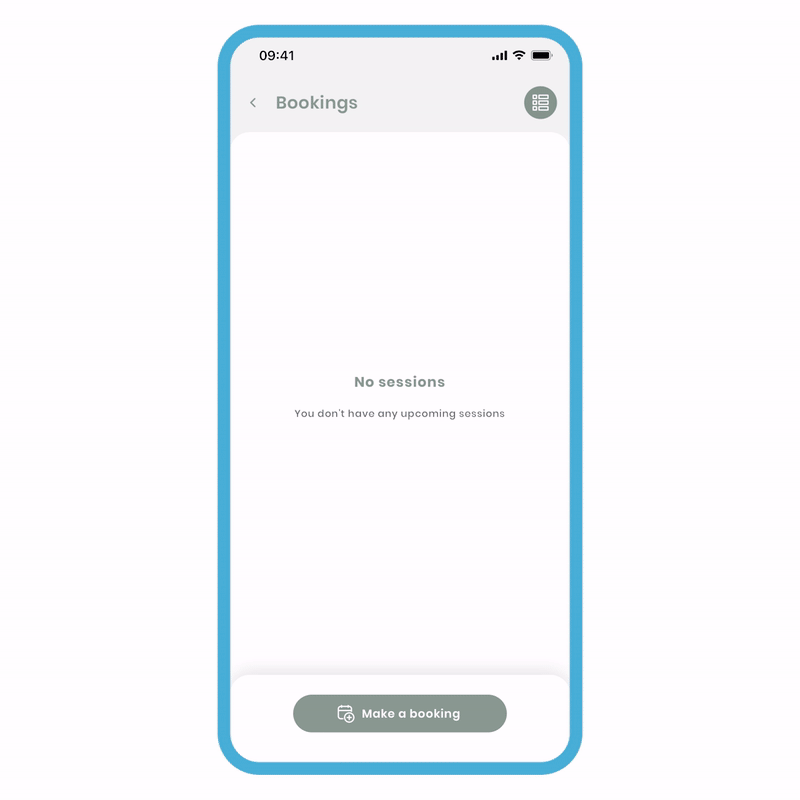
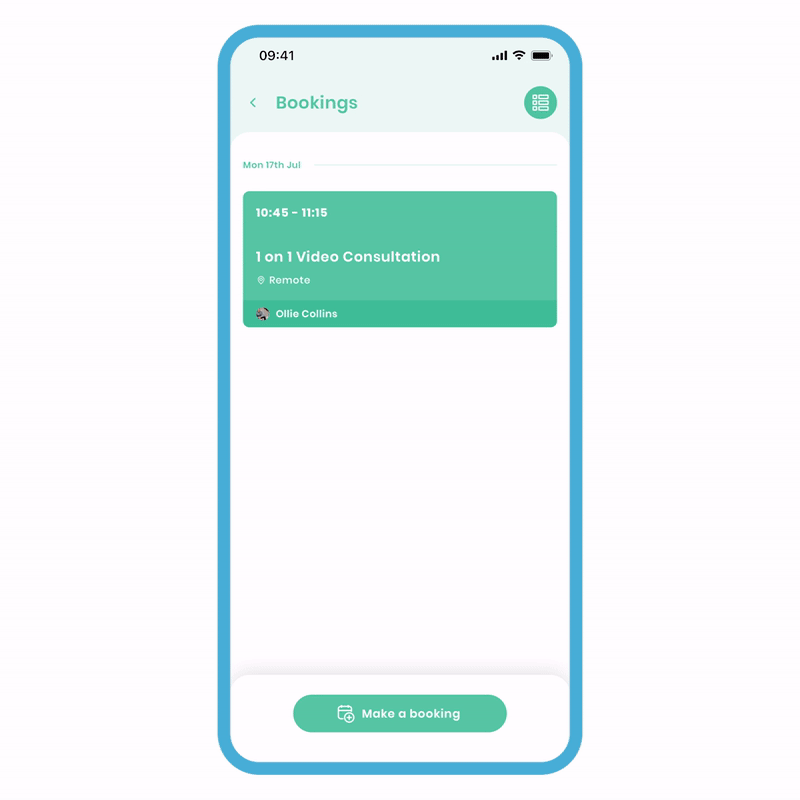
Creating a one-off booking
In this tutorial, we'll guide you through the process of creating a single session and adding a participant.
To create a local session:
- Click 'make a booking,' select the connection(s) you wish to add, and click 'Next.'
- Choose 'Create custom booking' for a 'one-off' session. If you have available services, they will be displayed here and designed for reuse.
- Fill out the 'name' and 'duration' fields in the 'New booking' screen.
- Select 'location' and enter the postcode or name of the location. If the location has been used before, you can quickly select it from the list.
- Pick a suitable date and time, then click 'Review.'
- Review your details and click 'confirm and create.'
The difference here is that instead of a remote link, recipients have access to a mini-map. They can click on it and use their phone's navigation to get to the booking location.
It should be noted that once you decide to make a booking, whether remote or local, these types cannot be changed once the booking is created. If you wish to change a remote booking to a local one, you must cancel the session and start a new booking using the local type.
Adding another participant
Now that you've created your session, let's quickly explore how to add other participant(s) to your booking.
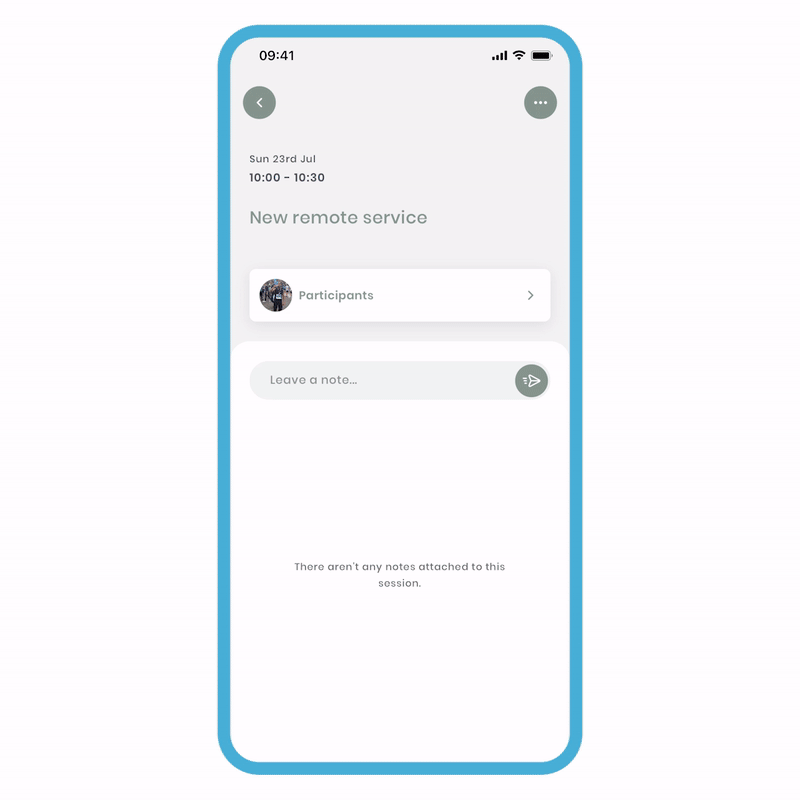
To do this:
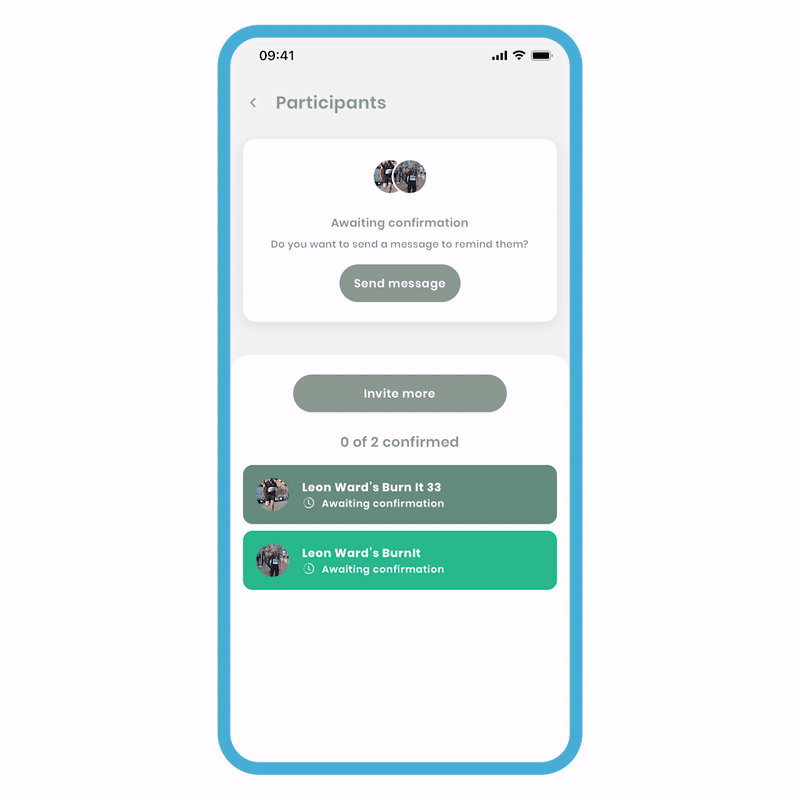
- On the 'Bookings' screen, click on the 'Participants' tile, and you'll be brought to a listing view of all the invited connections.
- Click 'Invite more,' and you'll see a list of all your connections you can invite. Select the connection(s) you want and press 'invite.'
Now, a notification will be sent to all the new participants added to the session. When they accept, the host will receive a notification to confirm their attendance.
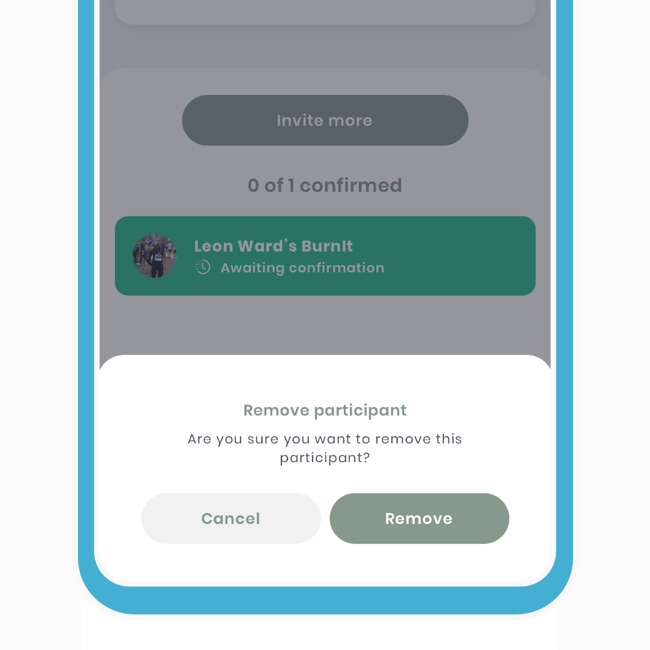
Removing a participant
The method of removing a connection from the session is as easy as sliding the connection tile and clicking the hidden button under it.
Removing a participant steps:
- On the 'Participants' screen, slide the connection's tile you wish to remove to the left.
- You'll notice a button hidden underneath the tile. Click it, and a popup will appear. Click 'Remove.'
Now the connection has been removed from the session, and a notification will be sent to them to confirm this.
Awaiting response from a booking
If you're the host of a booking and waiting for a response, you can send a message from this section. We understand the significance of bookings and have designed this feature to make it easy for you to follow up if necessary.
Once a booking is made:
- On the bookings screen, click on 'Participants' to see all the connections you've added.
- At the top of the screen, click 'Send Message' to navigate to the messages screen.
- Type in your message.
Please note that if there are multiple connections in the booking and you choose to send a message, it will not create a group chat. Instead, individual messages will be sent to each person. For creating a booking, please refer to other tutorials where we provide a detailed explanation.