Tutorial - Plan Builder | Setting Targets
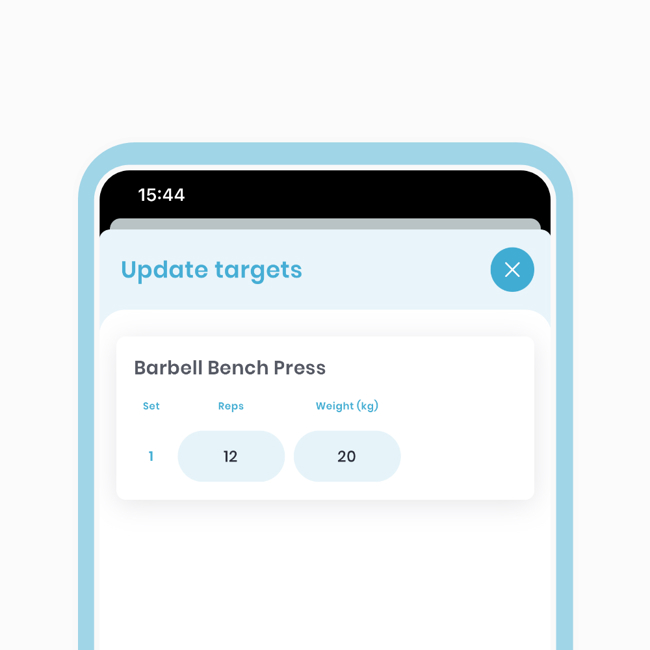
Setting targets for your trackable metrics is crucial in your fitness journey. For example, you can set a Bench Press target of 12 reps at 20kg, and continue with other exercises accordingly. We've taken a unique approach, enhancing key elements to better support your progress.
Trackable metrics
For a detailed explanation on trackable metrics, the article is listed below. To give a brief overview, once you add an exercise you can select the type metrics you wish to track against it. The most common trackable metrics are already pre-selected for you once you add an exercise. You can always modify if needed. You can select up to 3 to track against an exercise.
Now, for the purposes of this tutorial, we will select the weight and reps metrics on the Barbell Bench Press.
- Click 'Add', 'Add exercise', 'Choose from library'.
- In the search bar, enter the exercise you want, like 'Barbell Bench Press'.
- Click 'Apply' and select the exercise.
- Proceed to the next step and select the 'Weight (kg)' and 'Reps' metrics.
- Click 'Next'.
- Type in your targets, then click 'Save'.
Done! Finally, let's preview how it looks.
Pen & Paper in 2023?
Inputting Targets All at Once
If you'd like to input targets for all exercises simultaneously, we've designed an efficient mechanism to assist you.
After adding at least one exercise, a flashing button labeled 'Update Targets' will appear at the bottom of the main plan edit screen. Clicking on it will take you to the 'Edit Targets' screen, where you'll find a list of all the exercises you've added, allowing you to quickly input the desired targets.

To Quickly Edit Targets for All Exercises:
-
Return to the main 'Plan Edit' screen (if you're in a group).
-
Locate the flashing 'Update Targets' button at the bottom.
-
Edit your targets accordingly.
If you have a single repeated exercise or a repeated group, you can utilise the autofill function for a faster editing experience!
Autofill Metrics
By repeating an exercise or a group, you unlock the convenience of using the autofill feature. Save time by quickly filling out all the repetitions at once. Let's see it in action!
To use the autofill feature:
-
Enter your metrics in the first input field of the first set. Notice the highlighting of the first box in each set, indicating autofill applicability to all highlighted fields.
-
Tap the autofill button on the keypad. All highlighted fields will be filled with the same targets.
Please note that autofill is available only on the first set of the first repetition and can be used in any Update Metrics screen across the app.
Laddering Targets
As mentioned earlier, when a set or group is repeated, the autofill function becomes available. However, if you prefer not to fill all the metrics with the same targets, you have the option to ladder them. Let's take a look at an example:
- Click 'Add', 'Add exercise', 'Choose from library'.
- In the search bar, enter the exercise you want, like 'Barbell Bench Press'.
- Click 'Apply' and select the exercise.
- Proceed to the next step and select the 'Weight (kg)' and 'Reps' metrics.
- Click 'Next'.
- Type in your targets for each set, then click 'Save'.
AMRAP - As Many Reps As Possible
For this exercise, let's add a note and make it AMRAP (as many reps as possible). We'll then add the 'Reps' and 'Time' metrics to the exercise item.
- Click 'Add', 'Add exercise', 'Choose from library'.
- In the search bar, enter the exercise you want, like 'Barbell Bench Press'.
- Click 'Apply' and select the exercise.
- Proceed to the next step and add a note in the notes field, like "AMRAP - as many reps as possible. Log your reps!"
- Select the 'Time' and 'Reps' metrics.
- Click 'Next'.
- Enter your desired targets for the 'Time' metric and click 'Save'.
Let's see what this looks like in the Wizard View:
Activate the Timer in the Wizard View:
- Click 'Begin' on the Plan Overview screen to start the plan.
- Choose the flashing exercise to enter the Wizard View.
- Look for the clock icon with a downward arrow and select it.
- Click the play icon to start the timer.
Additionally, you can access previous notes, watch the demonstration video, and find step-by-step written instructions for each exercise by scrolling down.
Log your results:
- Perform the exercise and remember the number of reps.
- When the time is over, enter the reps in the 'Reps' field.
- Click 'Complete' to save your input.
Trackable Metrics Tutorial
I mentioned earlier that I would provide a link to a detailed tutorial page on trackable metrics. For more in-depth information, take a look here: