Tutorial - Bookings | Creating a Booking
In a nutshell, the host sends a booking request to the recipient(s), and they respond with a simple y/n - that's it!
A fundamental part of Fitain is its Booking System, which is super quick and easy! Before we start, I'd like to introduce some concepts:
- Create custom booking - for one-off bookings (don't plan to re-use).
- Create Service - for re-use (more on this in other tutorials).
- Connections booking themselves in - Set up Services & Availability (Working Hours).
The extracts below were taken from another tutorial.
All About Bookings
We have designed a quick, straightforward, and efficient way to create bookings. The best part is that our bookings appear in both your and the recipients' history, making tracking easy to see how many bookings you have agreed to. Please note that the recipient must accept the booking for it to be shown in both your and their history. The process remains the same for both remote and in-person bookings.
Remote Bookings
You can add a personal link within the field, where the recipient(s) can access it. This can be anything you use, such as FaceTime, Zoom, Skype, Microsoft Teams, and more.
To create a remote session:
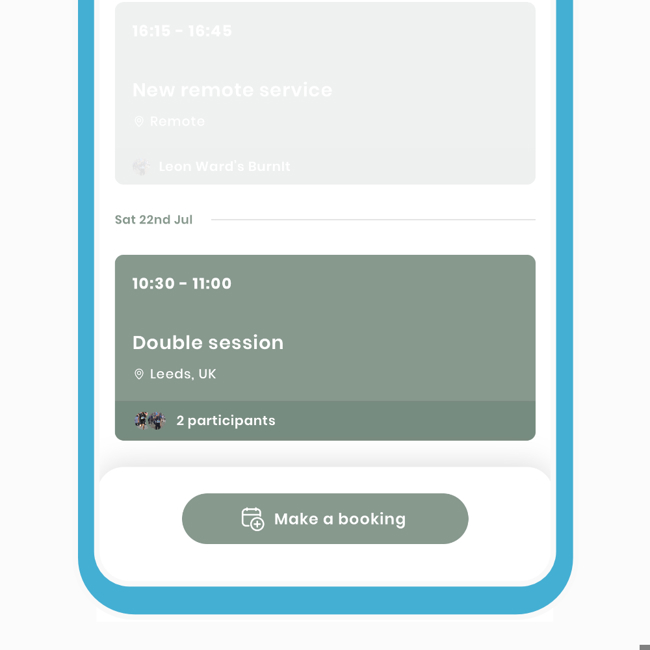
- Click 'make a booking,' select the connection(s) you wish to add, and click 'Next.'
- Choose 'Create custom booking' for a 'one-off' session. If you have available services, they will be displayed here and are designed for reuse.
- Fill out the 'name' and 'duration' fields in the 'New booking' screen.
- Select 'location' and click the 'Remote' tab at the top. Paste your link here and click 'Done.'
- Pick a suitable date and time, then click 'Review.'
- Review your details and click 'confirm and create.'
Editing/Changing a Link
If you have forgotten to add a link to the remote session or wish to change it after the booking has already been created, don't worry; you can easily do so.
Editing/Changing link steps:
- On the bookings screen, click 'more options' (3 dots) at the top and select 'Edit details.'
- Paste the link in the remote link field and click 'Save.'
The participant(s) will have access to the link. This can also be done with a remote service (more on that later).
Local Bookings
As the name suggests, our flexible bookings system also enables you to create local bookings at a physical location. The setup is the same, but this time, we'll add a location to the booking.
To create a local session:
- Click 'make a booking,' select the connection(s) you wish to add, and click 'Next.'
- Choose 'Create custom booking' for a 'one-off' session. If you have available services, they will be displayed here and designed for reuse.
- Fill out the 'name' and 'duration' fields in the 'New booking' screen.
- Select 'location' and enter the postcode or name of the location. If the location has been used before, you can quickly select it from the list.
- Pick a suitable date and time, then click 'Review.'
- Review your details and click 'confirm and create.'
The difference here is that instead of a remote link, recipients have access to a mini-map. They can click on it and use their phone's navigation to get to the booking location.
It should be noted that once you decide to make a booking, whether remote or local, these types cannot be changed once the booking is created. If you wish to change a remote booking to a local one, you must cancel the session and start a new booking using the local type.
Notes on Bookings
As a professional, you have the ability to organise sessions with one or multiple participants, and you can add notes to these sessions. In this case, the recipient(s) will receive a notification each time you add a note to the session. This feature is useful as it eliminates the need for multiple messages and allows you to communicate important information in one go.
To make a note on the session:
- On the Booking Overview screen, select the notes field and write your note. Click the send icon, and a notification will be sent to all recipient(s).
Please note that all participants will be able to see the note, but it is not a forum where they can respond. If you wish to communicate with an individual privately, it is recommended to send them an individual message.
Rebooking from History
Your history area comprises of two activities you've completed on Fitain: bookings and plans. As mentioned in other tutorials, you can use colours to distinguish trends. As professionals, we understand how precious your time is. In this tutorial, we want to show you how quick it is to rebook the same connection for another date. Please note:
- If you're the recipient, the host's name will be at the bottom of the tile.
- If you're the host, the recipient(s) will be at the bottom.
This extract has been taken from another tutorial.
To rebook from history:
- Select the historic session log, taking you to the Historic Overview screen.
- Click 'Book again' at the bottom.
- Choose an available day and time, review the details on the receipt screen.
- Click 'Confirm and create'. A new invitation will be sent to the participant.
Please note, this is only available for bookings with a single participant. Ideal for providers offering 1-to-1 bookings.